Training your young horse to jump is such an exciting time. If you follow our magazine, you will have seen our previous article Introducing Your Horse To Loose Jumping, about first introducing your horse to jumping via loose schooling. We believe loose schooling is the ideal way to start your horse over fences and gives them the ability to learn and negotiate their own stride and balance over obstacles without the added burden of a rider on their back.
In this piece we progress to jumping under saddle, with a horse that now has some idea of what jumping is all about.
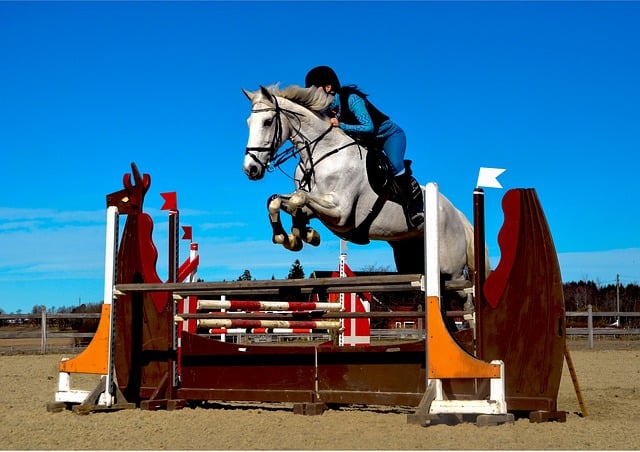
Before You Begin.
The first jump is normally introduced under saddle relatively early in your horse’s education. However, some basic flat work should be in place to ensure that you horse remains happy and confident throughout the experience. Your horse should be going forwards in all 3 paces in a relaxed outline. He should be responsive to your aids, and move easily through basic upward and downward transitions, i.e. your horse should walk, trot, canter and halt when he is asked.
Getting Started.
Have your jump uprights in place and your poles arranged. With young horses I like to use a placing pole, about 9 feet from the fence; this helps the young horse to take off from the most correct spot to jump the fence. I then begin with the poles on the ground, going over them in both directions first in walk, and then in trot and I have always found my horses benefit from placing pole in the early lessons.
The 5 phases of the Jump
When starting young horses, it is important to think about the 5 phases of the jump, to make sure they get the best start to their education.
Phase 1 – The Approach
This is the first phase; you and your horse should approach the fence in a straight line, in relaxed and forward stride. If your approach is crooked this may cause your horse to stop or run out, so keep the approach forward, straight with a positive rhythm.
Phase 2 – The Take Off
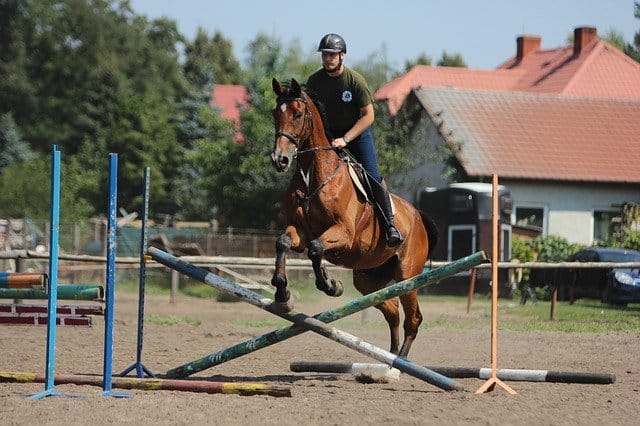
This is where your horse will take off to jump the fence; the placing pole will help your horse to find the best take off spot. Remember with young horses the take off is so important, they may be unsure and lack confidence. Therefore it is up to you as the rider to keep your leg on and ride positively forwards and maintain contact until your horse takes off to jump the fence.
Phase 3 – The Flight Phase
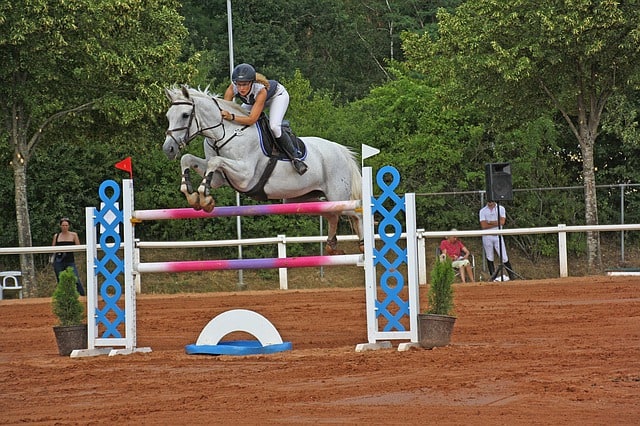
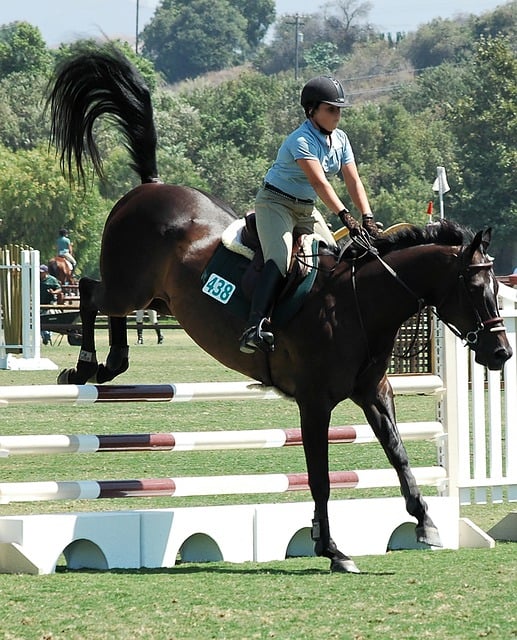
This is when your horse is in the air jumping the fence, you will move slightly forward with your body into the jumping position, to allow the horse to use his back and also follow the movement of his head with your hand, allowing your rein forward as the horse stretches his neck over the fence. Over small fences the jumping position is very slight. However, over a larger fence it is necessary for the rider to fold quite close to the horse to stay with the movement and allow the horse to use its back and neck, see the picture below.
Phase 4 – The Landing
This is when the horse lands after jumping the fence, make sure that you stay relaxed and in balance during the landing as occasionally young horses can tip a little on to the forehand during this phase. By keeping control of your body during the landing you will in turn help the horse maintain balance.
Phase 5 – The Get Away
This is when your horse has landed after the obstacle and you ride positively forwards in a straight line away from the fence. Be careful not to allow you horse to get into bad habits by ducking left or right on moving away from the fence; ride the horse actively forwards, so you are directing his activity not a mere passenger. Remember to keep a positive energy while keeping the horse balanced not allowing them to rush.
The First Fence – A Cross Pole
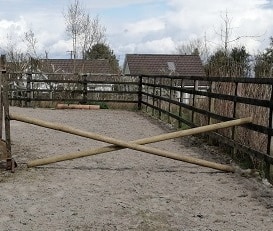
The first fence for me is always a cross pole, I believe it encourages the horse to jump to the centre of the fence. Once the horse is approaching and jumping and moving away from the cross pole confidently, I like to add back bar to the cross pole, making a semi parallel.
If the horse is working well over the semi parallel, I will normally progress to a small parallel, with the front bar, slightly lower than the back bar, this allows the horse to see that there is a back bar. If the horse jumps well over that, I will normally leave it there for the first day. I will follow on with a second session in a day or so, building on what we covered already, this time having another fence a couple of strides away.
Introducing Doubles and Distances
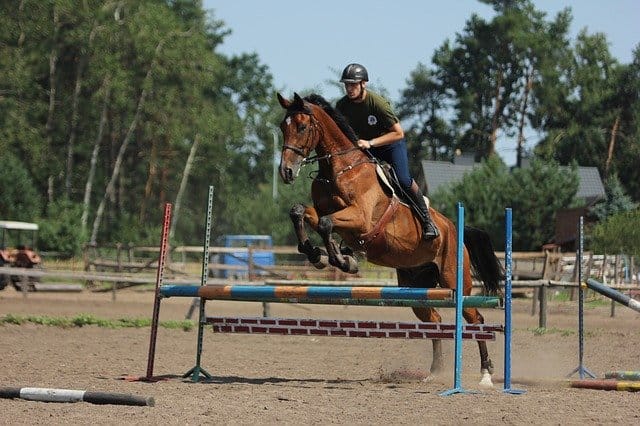
When your horse is jumping a single fence well, you can start introducing a small double. I normally start with a placing pole to a cross pole. The second fence will be at a one stride distance, I usually leave a pole on the ground in the position of the second fence, to give the horse the idea of looking forward to a second jump. When they have performed the cross pole a couple of times, I then add a second cross pole where the pole on ground is, the distance for a one stride double approached from trot, depending on the size of your horse is normally 18 to 21 feet.
When the horse is jumping the double of cross poles well, I will normally add a back bar to the second fence, making it into a semi parallel. If the horse jumps this well a couple of times you can progress to a parallel, making sure the first pole is a little lower than the back bar so the horse can see it. I will normally leave the lesson there if the horse jumps it well a couple of times. It is so important in the early days to end on a good note, without tiring the horse.
After a few sessions, I will put a couple of small fences around the arena, beginning with 3 or 4 fences, making this the first introduction to a small course. I find using the doubles and related distances is a great way of having the stride correct giving the young horse the confidence to jump from canter with an even rhythm.
NB**The Canter Distance for Horses for a One Stride Double approached from canter is between 24 and 26 feet or 7.5m to 7.9m approximately.
Points to remember
It is always important to remember that every horse is an individual, some horses learn slowly, while others are extremely talented, clever and quick. By taking things slowly and working at a pace the horse feels comfortable with, you will be giving the animal the best possible chance to learn and achieve their full potential.
I always find lots of praise when the horse does what is required is so important along with a rest period and a pat or scratch on the neck. If things don’t go according to plan, in my experience the best way forward is to break the task down and make it easier for the horse to give you a Yes answer.
If you are unsure about distances, it is always better to get your equestrian coach to help you get started with your young horse, this will ensure that you both get started on the right track. Happy Jumping!
This article was originally published in the May 2021 Issue of Irish Sport Horse Magazine.
